IFTTT各個社交網站的連結好幫手

IFTTT, 是一個可以幫助你整合更個社交網站的一個線上服務

螢幕快照 2013-08-21 下午4.17.25

此圖只是他整合的一部分

IFTTT, 可以想成if … Then … , Then … , Then …

就是你的其中一個服務做了什麼事情,就幫你同步做什麼事情到另一個服務

例如可以:Wordpress發了文章之後, 自動幫你同步到Twiiter,同步到Facebook等

或是Facebook發了文章之後,自動同步到Twiiter的推文上面去

此服務的使用方法為 :

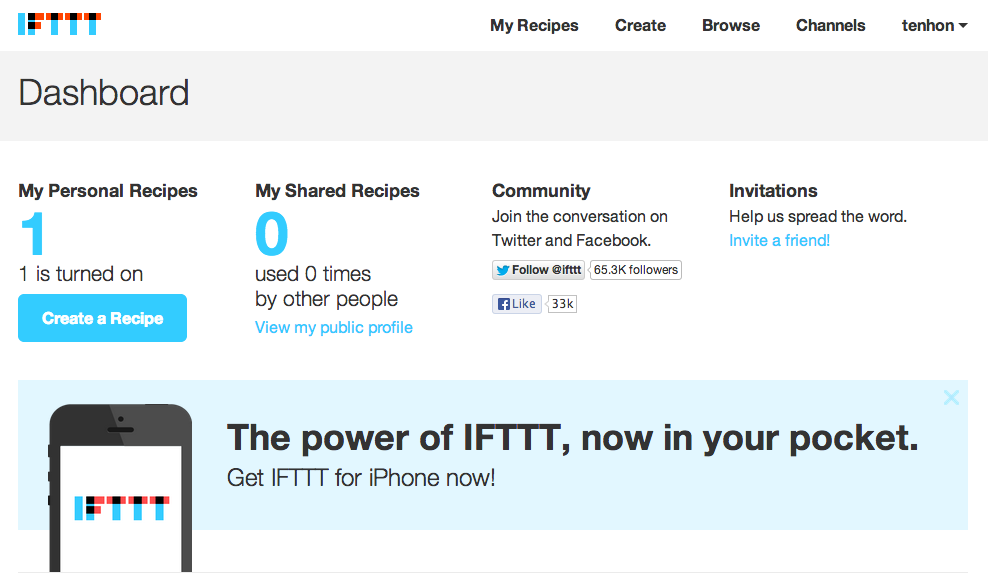
螢幕快照 2013-08-21 下午4.19.53

先點選此畫面的 Creater a Recipe,會到以下畫面

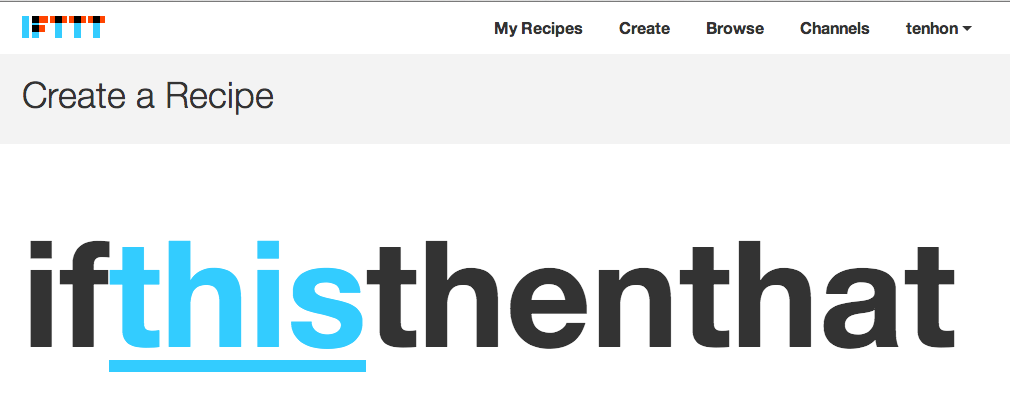
螢幕快照 2013-08-21 下午4.21.27

點 this 選擇你要整合的來源服務

螢幕快照 2013-08-21 下午4.26.50

選that 選擇你要觸發的服務

螢幕快照 2013-08-21 下午4.28.15


此圖就是整合了Facebook和Twiiter,如果Facebook發文之後,會自動推文到Twiier

其實裡面還有很多好玩的地方,可以慢慢去發掘,此文只是分享一個範例而已


在網站加入Google+專頁跟隨功能

1. 先在Google+上建立好專頁

2. 藉著先登入此Google+專頁的Google帳號

3. 前往此網址 https://developers.google.com/+/web/follow/

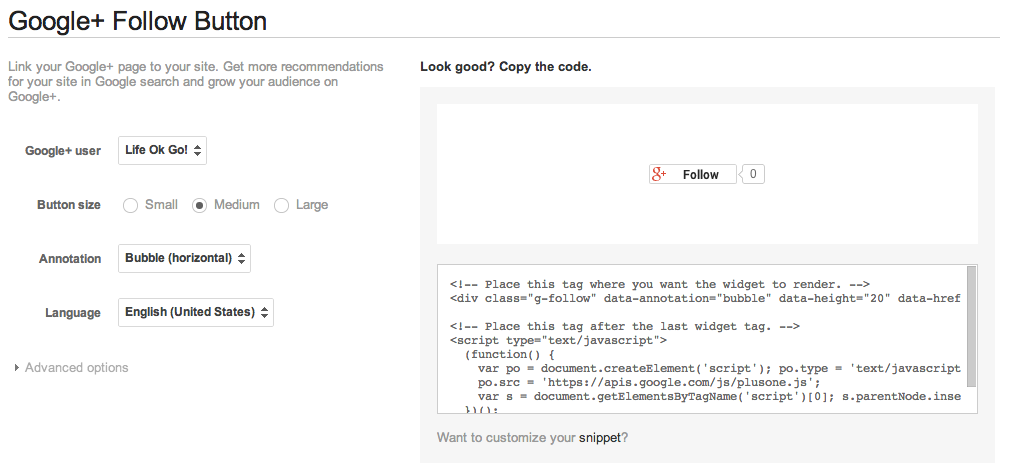
螢幕快照 2013-08-19 上午11.03.18


4.選著要跟隨的Google+專頁,然後調整好自己要的設定,和選擇語言

5. 接著將上面的html碼複製到網頁要存放的地方即可

這樣子別人在網站點選Fallow之後,你在自己的Google+專頁發送的文章

跟隨者就可以看到了

iOS開發 播放Youtube影片

如果要在iPhone製作播放Youtube影片的功能

可以使用以下方式

利用UIWebView


UITextView *myUITextView1;

if(videoView == nil)
{
videoView = [[UIWebView alloc] initWithFrame:CGRectMake(0, 37, 320, 260)];
}

videoView.backgroundColor = [UIColor clearColor];

videoView.opaque = NO;

[self.view addSubview:videoView];

NSString *htmlString =@"<html><head>"

"<meta name = \"viewport\" content = \"initial-scale = 1.0, user-scalable = no, width = 212\"/></head>"

"<body style=\"background:#FFFFF;margin-top:20px;margin-left:0px\">"

"<div><object width=\"320\" height=\"240\">"

"<param name=\"wmode\" value=\"transparent\"></param>"

"<embed src=\"http://www.youtube.com/v/9-cDZnLhUIc?f=user_favorites&app=youtube_gdata\""

"type=\"application/x-shockwave-flash\" wmode=\"transparent\" width=\"320\" height=\"240\"></embed>"

"</object></div></body></html>";

[videoView loadHTMLString:htmlString baseURL:nil];

使用Ruby自動發文到Twiiter

要怎麼利用Ruby語言製作一個Twiiter自動發文程式呢

1. 在終端機上輸入`gem install twitter`

2. 在twitter上設定一個新的application

3. 產生一個.rb檔案,填上key等資訊

例如:

require ‘twitter’

Twitter.configure do |twttr|

twttr.consumer_key = “???”
twttr.consumer_secret = “???”
twttr.oauth_token = “???”
twttr.oauth_token_secret = “???”
end

??? 填上你取得的application數字

4. 填上要發送的東西

Twitter.update(“哈囉,你好”)

5.最後的檔案這樣子

require ‘twitter’

Twitter.configure do |twttr|

twttr.consumer_key = “???”
twttr.consumer_secret = “???”
twttr.oauth_token = “???”
twttr.oauth_token_secret = “???”
end

Twitter.update(“哈囉,你好”)

6.到 irb裡面執行 ruby auto_twiier.rb , 搞定!

Ruby on Rails 兩個資料表建立關聯

如果我們有兩個資料表,一個是商品分類資料表,一個是商品管理資料表,而商品管理的資料表會和商品分類的資料表做對應關聯

變成一個一對多, 和多對一的關係, 就是商品分類可以對應到很多的商品資料, 而商品資料只能對應到一個商品分類

那應該要怎麼在Rails裡面實現呢?

先將兩個資料表的model建立出來,在console打上

rails g model category name position:integer

這一行會建立一個category的model然後裡面會有一個name的欄位和形態為整數的position欄位

在console打上

rails g model item name description price:integer

這一行會建立一個item的model然後裡面會有name欄位,description欄位和型態為整數的price欄位

因為只有建立model還沒有建立真正的資料庫表,但打上以上指令Rails就會自動幫我們建立兩個db的migrate檔案

在db/migrate裡面

所以還要在console執行

rake db:migrate

這樣就會將migrate的檔案執行,產生真正的資料表

然後現在我們已經有兩個資料表了

但是關聯資料庫,如果有1對多和多對1的關係,就必須將兩個建立關聯

現在要Rails裡面的model裡面

class Category < ActiveRecord::Base
end

改為

class Category < ActiveRecord::Base
has_many :items
end

因為一個category可以有很多的items(可以這樣想)

class Item < ActiveRecord::Base
end

改為

class Item < ActiveRecord::Base
belongs_to :category
end

因為item對應到一個category(可以這樣想)

但是在兩個實體的資料表上還沒有建立關聯,因為item裡面並沒有category_id的欄位

所以在console打上

rails g migration add_category_id_to_items

然後到這個migration檔案裡面,本來長這樣

class AddCategoryIdToItems < ActiveRecord::Migration
def change
add_colums :items, :category_id, :integer
end
end

改成

class AddCategoryIdToItems < ActiveRecord::Migration
def change
add_colums :items, :category_id, :integer
end
end

然後到console執行

rails db:migrate

搞定!

但是如果是這樣的話,items資料表裡面的category_id還是nil值,資料還是沒完全關聯起來

到rails c裡面,打reload!重啓整理後

方法1 :

執行以下指令

# 找出Category id為3的

category_1 = Category.find(3)

# 找出Item id 為2的

item_1 = Item.find(2)

# 將此item加入category的群組,建立關聯

category_1.items << item_1

方法 2:

# 找出Category id為3的

category_1 = Category.find(3)

# 找出Item id 為2的

item_2 = Item.find(2)

# item的category_id = category的id

item_2.category = category_1

# 執行

item_2.save (比較特別的是,使方法要多打save讓他生效)

方法 3:

直接建立關聯的資料

# 找出Category id為3的

category_1 = Category.find(3)

# 打上item的name,description和price值

item_3 = category_1.items.create({name: “漢堡”, description: “好嗎?” , price: 100})

(item 建立後就是category id 為3)

方法4:

也是直接建立關聯的資料

# 找出Category id為3的

category_1 = Category.find(3)

#打上item的name,descriotion和price值

item_4 = category_1.items.build({name: “漢堡”, description: “好嗎?”, price: 100})

# 執行

item_4.save

(比較特別要多打save才會生效)

Ruby on Rails 更改資料表欄位名稱

因為在ROR裡面,資料表變動會要產生一個migrate,好讓資料的欄位變動可以做控管,如果變更錯誤,還可以變更回來

現在如果要變更資料表的欄位名稱要怎麼做呢?

先打上以下指令產生一個migrate檔案

rails g migration change_column_easy_to_best

這樣就會在db/migrate/裡面產生一個migrate檔案

再到此檔案裡面會長這樣

class ChangeColumnEasyToBest < ActiveRecord::Migration
def change
end
end

再補上

class ChangeColumnEasyToBest < ActiveRecord::Migration
def change
rename_column :items, :easy, :beat
end
end

然後在console打上

rake migration

讓Rails 去執行變動, 這樣就可以將easy的欄位名稱改為best

Ruby On Rails 的 RESTful routing

Ruby On Rails 是我最近開始學習的一個網站快速開發框架

一般我們開發網站最常使用的功能不外乎就是CRUD, C 就是 Create(建立), R就是 Read(讀取), U就是Update(更新), D就是Delete 刪除, 這四種操作

而在Rails裡面,我們要進行這幾個基本操作,我們要進行所謂得路由,就是透過網址的方式,來告訴Rails我們目前要做的是那一種操作

這樣共有以下幾個路由:

(因為Rails採用MVC架構, 須在網址上告知Rails我們現在要進行的操作要由那一個Conroller處理,假設我們是由posts這個Controller處理)

網址 Rails helper 操作 http method 對像
/posts/index posts_path 讀取資料的集合 GET Collection
/posts/id post_path(id) 讀取指定id的資料 GET Member
/posts/new new_post_path 前往新增資料頁面 GET Member
/posts/id/edit edit_post_path(id) 前往指定id的資料編輯頁面 GET Member
/posts post_path 新增資料 POST Member
/posts/id post_path(id) 更新指定id資料 PUT Member
/posts/id post_path(id) 刪除指定id資料 DELETE Member

由以上的表可以看出,要完整地完成CRUD總共要進行7種操作,由於Rails的路由要在路由表routes.rb進行設置

所以要在routes.rb打上以下幾個路行,Rails才可以認得這幾個網址所對應的Controller上的路由

get ‘/posts’ => “posts#index”
post ‘/posts’ => “posts#create”
get ‘/posts/:id’ => “posts#show”
put ‘/posts/:id’ => “posts#update”
delete ‘/posts/:id’ => “posts#destroy”
get ‘/posts/new’ => “posts#new”
get ‘/posts/:id/edit’ => “posts#edit”

但因為這幾個我們已經使用為RESTful的路由格式

所以上面那幾行可以不用打,直接在routes.rb打上 resources :posts, Rails就會自己產生以上幾行對應

到Console打上rake routes 會出現下圖

螢幕快照 2013-08-19 上午4.38.58